How to seal patio pavers starts with understanding that sealing is the process of applying a protective sealant over your paver surface to shield it from damage, stains, and wear. Whether you’re sealing concrete pavers or natural stone, this step locks in the beauty of your patio while protecting it from harsh weather, UV rays, and moisture. Sealing pavers not only enhances their color and gives them a rich, vibrant finish but also helps prevent weed growth between joints and makes cleaning much easier. By sealing patio pavers, you ensure your outdoor space stays attractive, durable, and low-maintenance for years to come.
Is It a Good Idea to Seal Your Pavers?
Protection from Damage and Stains
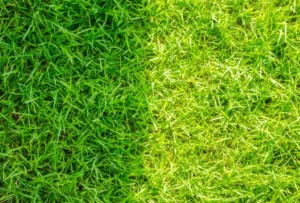
When you seal patio pavers, you create a powerful shield against everyday wear and tear. This barrier helps prevent oil, food, and beverage stains from soaking in, while also blocking damage from rain, snow, and harsh sunlight. Over time, UV rays can cause pavers to fade and lose their original beauty, but paver sealing locks in the color and enhances the natural tones of the stone. The result is a patio or walkway that not only looks fresh but stays protected season after season.
Reduced Weed and Moss Growth
A major perk of paver sealing is its ability to deter weeds, moss, and algae from growing between the joints. This not only keeps your outdoor space looking neat but also reduces the time and effort spent on maintenance. By sealing the joints with sand and applying the right sealer, you create a tight bond that helps prevent moisture from settling in—making it harder for unwanted growth to take hold and keeping your patio safe, clean, and visually appealing.
Potential Drawbacks to Consider
Sealing isn’t a one-and-done process it’s an ongoing investment in your outdoor space. Depending on foot traffic, weather exposure, and the type of sealer used, you may need to reapply every 2–5 years. Additionally, using the wrong sealer or applying it too thickly can lead to a slippery surface when wet. Choosing a high-quality product and following correct application techniques are essential for safety, comfort, and lasting results.
When Sealing is Recommended
Sealing is especially beneficial in high-traffic areas such as driveways, walkways, and patios that see regular use. It’s also ideal for spaces exposed to heavy rain, frequent spills from outdoor dining, or direct sunlight that can cause fading. If you want to extend the life of your pavers, enhance their appearance, and cut down on maintenance, seal patio pavers to ensure they look their best for years to come.
Here Are the Tools You Will Need to Seal Your Pavers
Paver Cleaner & Degreaser
Before you seal patio pavers, a quality paver cleaner and degreaser help remove dirt, oil, and stains. This ensures the surface is ready for paver sealing and improves adhesion.
Pressure Washer
A pressure washer delivers a deep clean, washing away debris, weeds, and old residues. This step is crucial for a smooth and long-lasting finish when you seal patio pavers.
Roller or Sprayer
To apply the sealer evenly, use a roller for a controlled coat or a sprayer for faster coverage. Both methods work well for paver sealing, depending on your project size.
Joint Sand
Joint sand fills the gaps between pavers, locking them in place and preventing weed growth. It also supports the structure before and after paver sealing.
Paver Sealer
Choose between a water-based or solvent-based paver sealer. The right product protects against stains, fading, and weather while enhancing the natural look of your pavers.
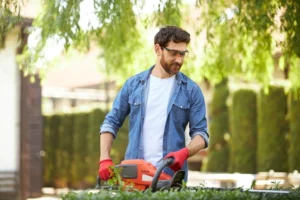
Safety Gear
Wearing gloves, goggles, and a mask protects you from dust, chemicals, and fumes during cleaning and paver sealing, keeping the process safe and efficient.
You may read How To Cut Pavers?
How to Seal Patio Pavers in Five Easy Steps
Step 1: Clean the Pavers Thoroughly
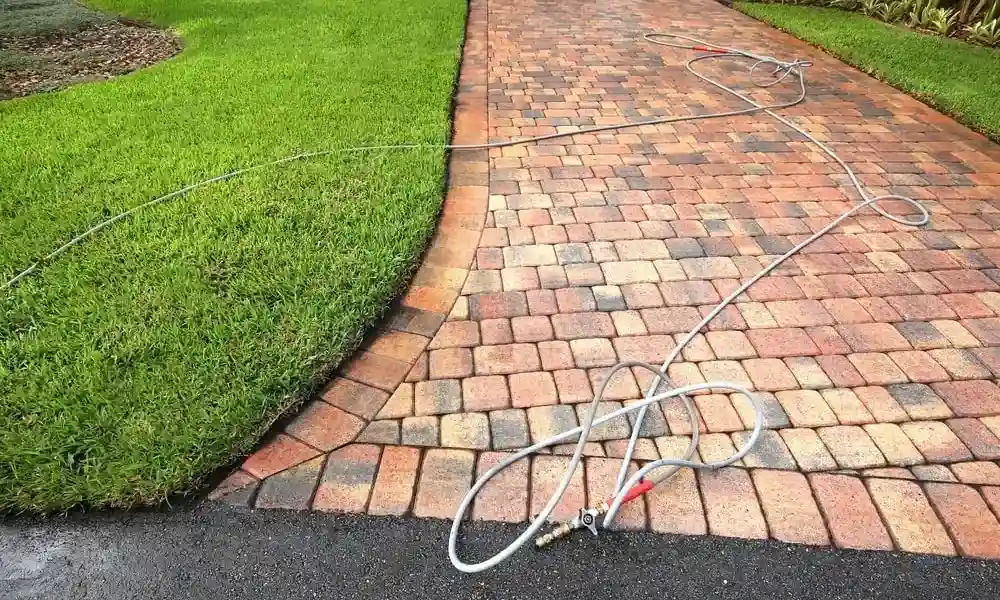
Before sealing pavers, remove all dirt, weeds, moss, and stains using a paver cleaner and a pressure washer. Pay extra attention to oil spots or mildew, as these can prevent the sealer from bonding. A spotless surface is essential for a smooth, long-lasting finish.
Step 2: Let the Pavers Dry Completely
After cleaning, let the pavers dry for at least 24 hours or longer if the weather is humid. Any trapped moisture can lead to hazy patches, bubbling, or peeling, especially when sealing concrete pavers. Drying fully ensures the sealer penetrates and adheres properly.
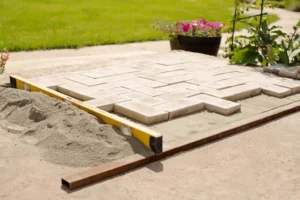
Step 3: Apply Joint Sand Between Paver Gaps
Spread fine joint sand over the surface, sweeping it into every gap until they’re completely filled. This not only locks the pavers in place but also reduces weed growth and prevents shifting. A stable base is key before sealing pavers for long-term durability.
Step 4: Apply Sealer Evenly with Roller or Sprayer
Choose a water-based or solvent-based paver sealer based on your material and desired finish. Apply it evenly with a roller for precision or a sprayer for faster coverage. A consistent coat helps protect against stains, fading, and weather damage when sealing concrete pavers.
Step 5: Let the Surface Cure Before Use
Follow the manufacturer’s curing instructions, typically 24–48 hours, before walking or driving on the sealed area. This curing period allows the sealer to fully bond, ensuring your sealing pavers project delivers maximum protection and a beautiful, long-lasting finish.
When to Call for Professional Help
Large or Complex Projects
If you’re sealing pavers across a large patio, driveway, or commercial space, professional expertise ensures even application and long-lasting results. Large-scale jobs require specialized tools and high-grade sealers for maximum durability.
High-End or Delicate Materials
When sealing concrete pavers, brick, or natural stone, using the wrong product can cause damage or discoloration. Professionals know which sealers work best for each material to preserve both beauty and performance.
Pavers in Poor Condition
If your pavers have deep stains, heavy weed growth, or uneven surfaces, a pro can properly clean, repair, and prepare them before sealing. This guarantees the sealer bonds well and protects effectively.
At Lakota Design Group, we bring over 49 years of hands-on experience in landscape design, paver installation, and sealing. From small residential patios to large commercial spaces, we deliver precision, beauty, and long-lasting protection.
Protect and enhance your outdoor space contact Lakota Design Group today for expert paver sealing that’s done right the first time.
Conclusion
Sealing your pavers is one of the best ways to protect your investment, enhance their natural beauty, and reduce ongoing maintenance. From preventing stains and fading to blocking weed growth and weather damage, the benefits of paver sealing make it a smart choice for any outdoor space.
While smaller projects can be done on your own, large or complex jobs especially when sealing concrete pavers, brick, or natural stone are best left to professionals. The right team will ensure the surface is properly cleaned, prepped, and sealed for results that last years instead of months.
At Lakota Design Group, we bring over 49 years of expertise in landscape design, paver installation, and sealing services. Whether it’s a residential patio or a large commercial space, our work is built to last, protect, and impress.
Give your outdoor space the protection and beauty it deserves contact Lakota Design Group today for expert paver sealing done right the first time.
FAQs
1. Why Should I Seal Patio Pavers?
Sealing patio pavers helps protect them from stains, fading, and weather damage. It also enhances their natural color and reduces weed and moss growth between joints, making your outdoor space easier to maintain.
2. How Often Should I Reapply Paver Sealer?
Most pavers need resealing every 2–5 years, depending on foot traffic, weather exposure, and the type of sealer used. High-traffic areas or regions with harsh climates may require more frequent paver sealing.
3. Can I Seal Patio Pavers Myself?
Yes, you can seal pavers yourself if the area is small and you have the right tools, such as a pressure washer, joint sand, and a roller or sprayer. However, for large or complex projects, professional paver sealing ensures better results and longer-lasting protection.
4. What’s The Difference Between Water-Based And Solvent-Based Paver Sealers?
Water-based sealers are eco-friendly, easier to apply, and less slippery, while solvent-based sealers typically provide a glossier finish and deeper color enhancement. Both can work well for sealing concrete pavers, but the choice depends on your desired look and surface needs.
5. How Long Do I Need To Wait Before Using My Patio After Sealing?
Most manufacturers recommend waiting 24–48 hours before walking or driving on the surface. This curing time ensures the sealer bonds properly and provides full protection when sealing pavers.