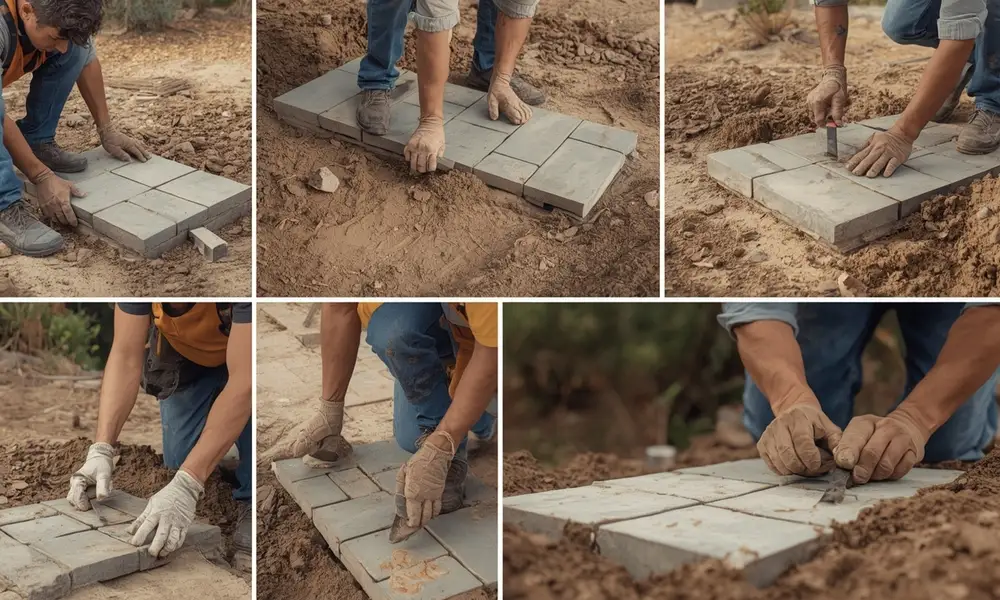
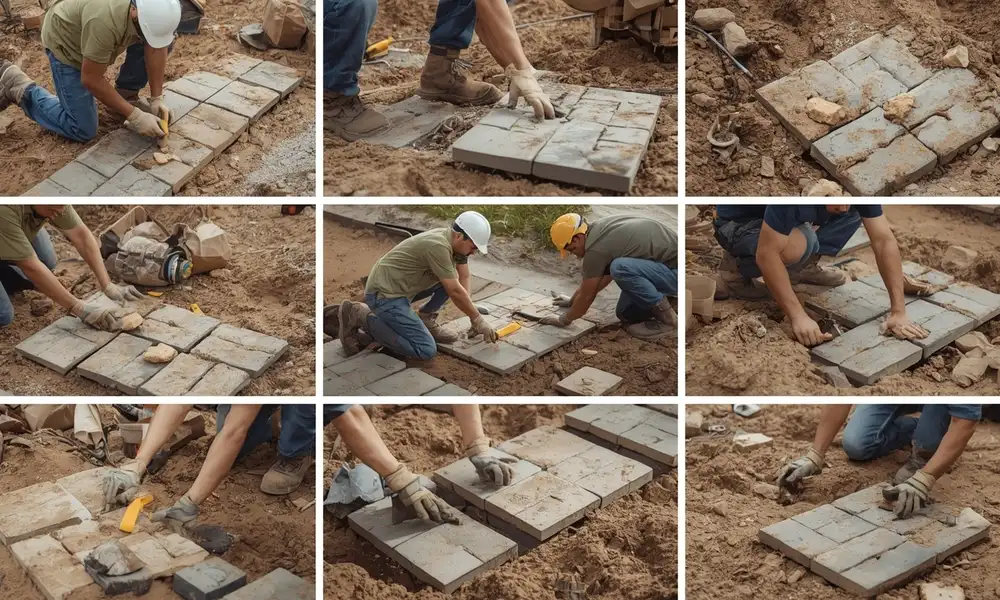
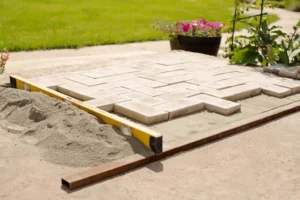
How to install pavers on dirt is a straightforward yet rewarding project that lets you create a functional and attractive outdoor surface without the need for concrete or extensive groundwork. By installing pavers on dirt, you can achieve a budget-friendly and quick upgrade to patios, walkways, or garden areas perfect for homeowners who enjoy hands-on, DIY-friendly projects.
The process of setting pavers in dirt may seem simple, but the secret to a long-lasting, professional finish lies in careful planning, proper leveling, and solid base preparation. With the correct strategy, you may design a long-lasting and aesthetically pleasing area that improves your landscape for many years to come.
Understanding Paver Installation on Dirt

What “Installing on Dirt” Really Means
When someone says pavers installed on dirt, it typically means placing the stones directly over compacted natural soil without adding a gravel or sand layer underneath.
- Dirt base: Uses native soil as the foundation.
- Concrete base: Pavers are set on a rigid, poured concrete slab.
- Sand base: Pavers rest on a compacted layer of gravel topped with sand, allowing better leveling and drainage.
How Dirt Differs from Concrete or Sand Bases
- Concrete Base: Strong, permanent, and stable but less forgiving for drainage and repairs.
- Sand Base: Flexible, drains well, and allows for easy paver replacement.
- Dirt Base: Quick and inexpensive, but less stable and more prone to shifting over time.
Pros of Installing Pavers on Dirt
- Low Cost: No need for extra base materials.
- Faster Installation: Skips excavation for gravel or sand layers.
- Simple DIY Option: Minimal tools and skills required.
Cons of Installing Pavers on Dirt
- Poor Stability: Dirt can shift or erode, causing uneven surfaces.
- Weed Growth: Gaps between pavers are more vulnerable to weeds.
- Water Drainage Issues: Moisture can pool, leading to sinking or mud.
- Shorter Lifespan: More frequent repairs or re-leveling needed compared to sand or concrete bases.
You may read How To Cut Pavers?
Essential Equipment for Laying Pavers on Dirt
Measuring & Planning Tools
- Tape Measure: Ensures accurate layout and alignment of your paver pattern.
Soil Preparation Tools
- Shovel & Rake: For clearing debris, leveling the dirt, and shaping the base area.
- Level: Helps keep the pavers even and prevents tripping hazards.
- Tamper or Plate Compactor: Compresses the dirt for a firmer, more stable surface.
Paver Placement Tools
- Rubber Mallet: Taps pavers into place without cracking them.
- Paver Spacers (Optional): Keeps uniform gaps for a clean, consistent layout.
Base & Support Materials
- Landscape Fabric: Reduces weed growth and helps with soil stability.
- Pavers: Choose sizes like 12×12 pavers or other shapes to fit your design.
- Gravel or Crushed Stone (Optional): Improves drainage and adds extra stability under the dirt base.
Safety Gear Checklist
- Work Gloves: Protects hands from blisters and sharp edges.
- Safety Glasses: Shields eyes from flying debris or dust.
- Knee Pads: Reduces strain while working at ground level.
- Steel-Toe Boots: Provides foot protection from dropped pavers.
- Dust Mask: Useful when working in dry, dusty conditions.
How to Install Pavers on Dirt | Step-by-Step Guide

If you’re looking for a budget-friendly, quick way to upgrade your outdoor space, laying paver stones on dirt is a great option. While it won’t be as durable as a sand or concrete base, it works well for small patios, walkways, or garden paths. Here’s how to do it right.
Step 1: Measure and Plan
Before setting pavers in dirt, decide on the layout and size of your project. Use a tape measure to mark the exact dimensions, then outline the area with stakes and string to keep your lines straight.
Step 2: Clear and Level the Ground
Remove grass, roots, rocks, and any debris. Rake the area smooth so the pavers can sit evenly. A clean surface is key for a stable installation.
Step 3: Compact the Soil
For a sturdy base when laying paver stones on dirt, use a hand tamper or plate compactor to press the soil down. This step reduces shifting and uneven settling over time.
Step 4: Lay Landscape Fabric (Optional)
Placing landscape fabric over the compacted dirt can help prevent weeds from growing between your pavers.
Step 5: Arrange the Pavers
Start at one corner and work outward. Use paver spacers if you want uniform gaps. Make sure your pavers align with your planned pattern.
Step 6: Level and Adjust
Use a rubber mallet to gently tap each paver into place. Keep checking with a level to maintain a flat surface.
Step 7: Fill Gaps
Sweep fine gravel, crushed stone, or sand into the joints between pavers. This locks them in place and adds extra stability.
Step 8: Final Check
Walk over the area to ensure no pavers rock or shift. Adjust as needed so the surface is even and secure.
How to Lay 12x12 Pavers on Dirt
Larger pavers, like 12×12-inch concrete slabs, require extra care when installed on dirt. Their weight can cause sinking if the base isn’t prepared correctly, and their size makes alignment even more important. Here’s what to keep in mind.
Special Considerations for Larger Pavers
- Extra Soil Compaction: Larger pavers put more pressure on the soil, so use a plate compactor for maximum stability.
- Even Base Surface: Any dips in the dirt will cause the paver to rock or settle unevenly. Level carefully before placing.
- Edge Support: Install paver edging or bury the edges slightly to prevent lateral movement over time.
Tips for Alignment and Preventing Sinking
- Measure Twice: Use a tape measure and string lines to keep the rows perfectly straight.
- Check Level Frequently: Every few pavers, place a level across the surface to avoid gradual tilting.
- Add a Thin Gravel Layer (Optional): Even though you’re still laying paver stones on dirt, a 1-inch layer of compacted gravel beneath each 12×12 can reduce sinking.
- Tap, Don’t Force: Use a rubber mallet to set each paver gently forcing them can shift the base.
Ideal Patterns for 12×12 Pavers on Dirt
- Grid Pattern: Simple and symmetrical, best for patios and walkways where straight lines are key.
- Diamond Layout: Turn the pavers at a 45° angle for a unique, upscale look.
- Stepping Stone Path: Space them apart for a garden path, filling gaps with grass or gravel.
Why Choosing Lakota Design Group for Paver Installation is the Best Idea
When it comes to paver installation in San Jose, experience, precision, and local expertise matter. At Lakota Design Group, we bring over 49 years of landscaping expertise to every project, ensuring your outdoor space is as durable as it is beautiful.
49+ Years of Landscaping Expertise
Our decades of hands-on experience mean we understand the nuances of installing pavers on different soil types, including the unique clay and loam found in the Bay Area. We’ve mastered techniques that ensure your pavers remain stable and visually appealing for years.
Precision Installation for Long-Lasting Results
Whether we’re working with classic brick, modern concrete slabs, or custom stone, our team focuses on proper base preparation, perfect alignment, and professional finishing touches to deliver lasting durability.
Stress-Free Project Management
From concept to completion, Lakota Design Group handles everything design planning, permits (if needed), material sourcing, and precise installation so you can enjoy the transformation without the headaches.
Transform Your Outdoor Space Today
If you’re searching for expert paver installation in San Jose, Lakota Design Group is your trusted local partner. Let us create an outdoor area that blends durability, elegance, and timeless craftsmanship.
Final Thoughts
Installing pavers on dirt is a simple and budget-friendly way to upgrade your outdoor space, but it still requires proper preparation, leveling, and attention to detail for lasting results. From measuring and clearing the area to compacting the soil and setting each paver in place, every step matters in creating a safe, stable surface. If you’re unsure about tackling how to install pavers on dirt yourself, our team at Lakota Design Group is here to help. With 49+ years of landscaping experience and expertise in San Jose soil conditions, we deliver precise, beautiful, and durable paver installations. Contact us today to schedule your consultation and bring your vision to life.
FAQs
1. Can You Put Pavers Directly On Dirt?
Yes, you can install pavers directly on compacted dirt, but it’s best for smaller, low-traffic areas. Adding a thin layer of gravel or sand improves stability and drainage.
2. What Tools Do I Need To Lay Pavers On Dirt?
Essential tools include a tape measure, shovel, rake, level, rubber mallet, hand tamper or plate compactor, and safety gear like gloves and knee pads.
3. Do I Need To Use Landscape Fabric Under Pavers On Dirt?
While not required, landscape fabric helps prevent weeds and adds extra stability to the base.
4. How Do I Keep Pavers From Sinking Into The Dirt?
Compact the soil well, use a gravel base if possible, and check each paver with a level before finalizing placement.
5. What’s The Best Pattern For Pavers On Dirt?
Simple patterns like a grid or stepping stone layout work well. For 12×12 pavers, consider a diamond layout for visual interest.
6. How Long Will Pavers Last If Installed On Dirt?
With proper preparation, pavers on dirt can last several years, though they may require occasional leveling or adjustments.


