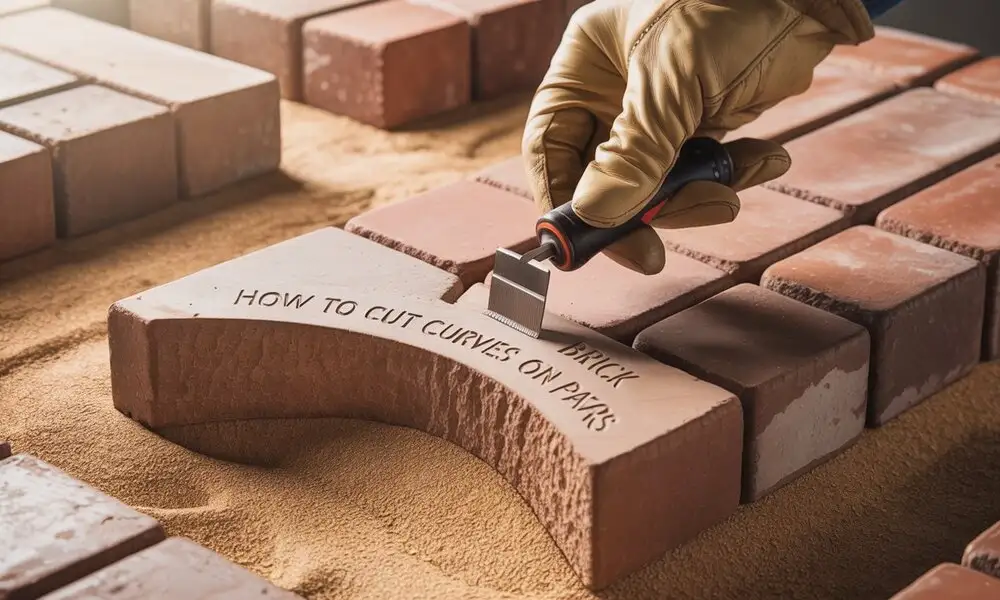
How to cut curves on brick pavers is a must-know skill for creating landscapes that look polished and function flawlessly. Whether you’re shaping paving stones curved for a winding garden path, or installing curved edge pavers to soften the look of a patio or border, precision cuts ensure each piece fits seamlessly. Curves aren’t just about visual appeal they improve flow, guide foot traffic naturally, and help your outdoor design blend with the surrounding environment. In this guide, you’ll discover the essential tools, different types of curves, a simple 7-step process for perfect cuts, and when it’s best to bring in professional help for flawless results.
Recommended Tools for Cutting Curves on Brick Pavers
When working with paving stones curved or installing curved edge pavers, having the recommended tools ready ensures smooth, accurate cuts and a professional finish.
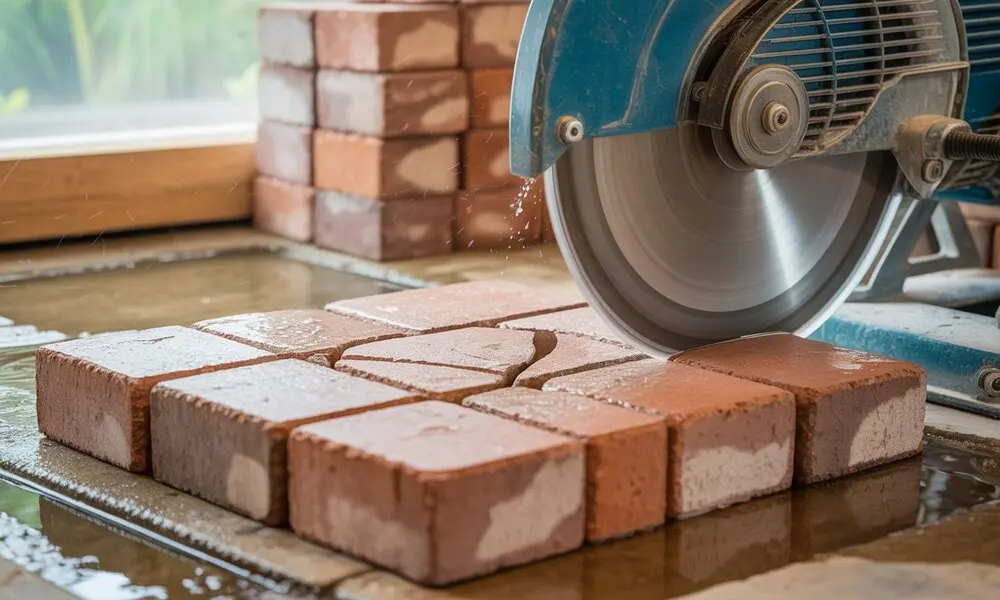
- Brick Saw (Wet Saw): Ideal for making precise, smooth curve cuts while reducing dust with water.
- Angle Grinder with Diamond Blade: A portable option for shaping and trimming pavers on-site.
- Measuring Tape & Chalk Line: Essential for marking exact curves before cutting.
- Safety Gear (Goggles, Gloves, Ear Protection): Protects against debris, sharp edges, and loud noise during cutting.
- Masonry Chisel & Hammer: Useful for fine adjustments or achieving a more rustic finish after initial cuts.
- Clamps or Workbench: Keeps pavers secure while cutting for better accuracy and safety.
Types of Curves You Will Need to Cut for Brick Pavers
When working with curve brick pavers, understanding the different curve styles ensures a professional, seamless fit. Planning the layout ahead of time prevents wasted materials and ensures smooth transitions. Here are the main types of curves you’ll encounter when installing pavers curved for landscaping projects.
Gentle curves
Gentle curves are ideal for wide garden paths or driveways, giving a soft, flowing appearance. These curves require minimal cutting and create a natural, welcoming feel in large outdoor spaces.
Tight curves
Tight curves work best for flowerbed edges or small circular patios where space is limited. They involve precise cuts to maintain shape without gaps, ensuring a clean and polished border.
S-shaped curves
S-shaped curves bring an artistic flair to pathways or garden designs. This type of curve adds movement and interest, perfect for winding paths that guide visitors through the landscape.
Radius curves
Radius curves are essential for creating perfect circles, such as around fire pits or seating areas. Careful measuring and consistent cuts are key for achieving a symmetrical look that stands out as a focal point.
You may read How To Install Pavers On Dirt?
How to Cut Curves on Brick Pavers in 7 Easy Steps
Knowing how to cut curves on brick pavers in 7 easy steps will help you achieve smooth, professional results whether you’re shaping pavers curved for a pathway or creating a striking circular patio. With the right tools, patience, and careful planning, you can fit curve brick pavers seamlessly into any landscape design without awkward gaps or uneven edges.
1. Plan and mark the curve
Use chalk, a garden hose, or a flexible edging strip to outline the exact shape. This helps visualize where your curved edge pavers will go before making any cuts and ensures the layout flows naturally with your overall design.
2. Secure the paver
Place the paver on a stable surface and clamp it in place. Keeping it steady is crucial for accuracy and safety while cutting, especially when dealing with intricate or tight curves.
3. Score the curve line
Make a shallow pass along the marked line with your saw blade. This guide cut reduces chipping, keeps the curve on track, and makes the final cutting stage much smoother.
4. Make the main cut
Follow the scored line slowly, letting the saw do the work. For tight turns or complex shapes, make multiple smaller cuts instead of forcing the blade, which could crack the paver.
5. Adjust and smooth edges
Use a masonry grinder or chisel to refine the curve. This step ensures your curved edge pavers fit perfectly against adjacent pieces and maintain a clean, finished look.
6. Check the fit
Dry lay the pavers in place to confirm they match the design and align with surrounding pavers curved along the layout. This prevents mistakes before permanent installation.
7. Install and finish
Set the pavers in position, fill the joints with sand, and compact the area to lock everything in place. This step completes your smooth, professional-looking curve brick pavers.
Safety Tips While Cutting Curves
Set the pavers in position, fill the joints with polymeric or jointing sand, and compact the area to lock everything in place. This step completes your smooth, professional-looking curve brick pavers and enhances the durability of your project.
Safety Tips While Cutting Curves
Cutting curve brick pavers requires precision, but safety should always come first. Whether you’re working on pavers curved for a pathway or shaping curved edge pavers for a patio, following proper safety practices helps prevent accidents and ensures cleaner results.
Always wear protective gear
Use safety glasses to shield your eyes from flying debris, gloves to protect your hands, and ear protection to reduce noise exposure from saws and grinders. A dust mask or respirator is also essential to avoid inhaling fine dust particles created when cutting pavers.
Avoid working in wet conditions
Moisture increases the risk of slipping and can also make power tools more hazardous to operate. Always choose a dry, stable workspace before starting, and keep your tools free from water exposure to prevent electrical hazards.
Work slowly to maintain control and accuracy
Rushing the process can lead to jagged cuts, broken pavers, or personal injury. Move the saw along the marked curve at a steady pace, letting the blade do the work rather than forcing it. This not only produces smoother curved edge pavers but also reduces the chance of tool kickback.
When to Hire Professional Help
Knowing when to hire professional help can save you time, money, and frustration especially when working with pavers curved into intricate designs. If your project requires complex curves, large quantities of cuts, or high-end specialty materials, mistakes can be costly. Professional installers have the expertise and equipment to cut curve brick pavers with precision, ensuring a flawless finish.
At Lakota Design Group, we specialize in paver installation in San Jose, delivering exceptional results for both residential and commercial landscapes. Whether it’s creating perfect curved edge pavers for a garden path or designing a statement circular patio, our team combines experience with craftsmanship to make your vision a reality.
Hiring our experts means you benefit from:
- Precision cutting for complex curves and shapes
- Time savings by avoiding trial-and-error methods
- Guaranteed results with durable, long-lasting installations
For seamless, professional paver installations in San Jose, trust Lakota Design Group to handle every detail from planning to finishing touches.
Final Thoughts
Learning how to cut curves on brick pavers can turn an ordinary outdoor space into something unique. From flowing garden paths to perfect circular patios, getting pavers curved to fit right takes patience, skill, and the right tools. If achieving smooth curve brick pavers feels challenging or you’re working with intricate designs, it’s best to call in the pros. At Lakota Design Group, we offer expert paver installation in San Jose, delivering flawless curved edge pavers that enhance your landscape. Contact us today to bring your vision to life with precision and craftsmanship.
FAQs
Q1: What Is The Easiest Way To Cut Curves On Brick Pavers?
The easiest way to cut curves on brick pavers is to mark your curve using chalk or a garden hose, score the line with a masonry saw, and then follow it slowly for a smooth cut. Refining the edges with a grinder ensures a precise fit.
Q2: Can I Cut Curves On Brick Pavers Without A Saw?
Yes, you can use a chisel and hammer for small adjustments or gentle curves, but for clean, accurate cuts especially with tighter curves a masonry saw or angle grinder is recommended.
Q3: What Tools Do I Need For Cutting Curves On Brick Pavers?
You’ll need a masonry saw or angle grinder with a diamond blade, chalk or marking tools, clamps to secure the paver, and safety gear such as goggles, gloves, and a dust mask.
Q4: How Do I Keep The Edges Smooth When Cutting Curves On Brick Pavers?
After making your main cut, use a masonry grinder or chisel to remove rough spots. This step helps your pavers curved match perfectly with the surrounding pieces.
Q5: Is It Better To Cut Curves On Brick Pavers Before Or After Laying Them?
It’s best to cut curve brick pavers before laying them to ensure each piece fits precisely in the planned design without forcing adjustments later.