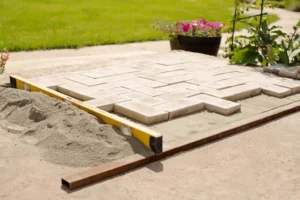
Imagine stepping into your backyard and seeing perfectly level, beautiful pavers that enhance your outdoor space year after year. No sinking spots, no puddles just a solid, long-lasting patio you can enjoy with family and friends. The secret to achieving this? A strong, well-prepared base that sets your pavers up for success.
After completing over 300 patio projects across the San Jose area, we’ve seen firsthand that understanding how much paver base do I need is the key to building a patio that lasts for decades. In this guide, we’ll walk you through simple, proven steps to calculate your paver base correctly so you can create a beautiful, durable outdoor space you’ll be proud of.
Why Your Paver Base Is More Important Than the Pavers Themselves
Your paver base is like a house foundation it determines whether your project lasts 2 years or 20 years. The base layer spreads weight, manages water drainage, and prevents settling.
Without adequate paver base thickness, pavers sink unevenly. We tested two identical 10×10 patios: one with proper 6-inch compacted base and another with just 3 inches. After one winter, the shallow base showed settling in four locations. The proper base? Still level three years later.
Water trapped beneath pavers causes frost heave, soil erosion, and accelerated deterioration. The right paver patio base depth (4-6 inches minimum) channels water away before damage occurs.
One client’s driveway had only 4 inches of base instead of the required 8 inches. Within 18 months, multiple low spots collected water. The repair cost $8,500—nearly double what proper installation would have cost initially.
Understanding Paver Base Materials: What Works and What Doesn't
Choosing the right base material is critical. Here’s what you need to know:
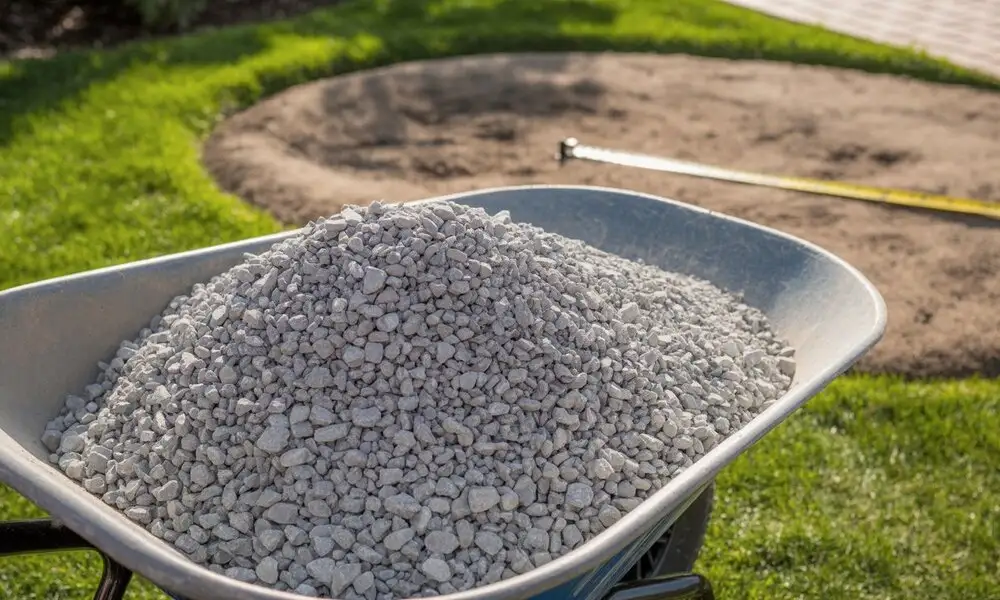
Crushed Stone (¾-inch Clean or Dense Grade)
The gold standard for paver projects. Angular edges lock together during compaction, creating a stable foundation that resists movement.
Key benefits:
- 95-98% compaction density
- Excellent drainage
- Superior load-bearing for pedestrian and vehicle traffic
- Minimal settlement when properly compacted
Cost: $40-60 per cubic yard. One cubic yard covers 80 square feet at 4 inches deep after compaction.
Crushed Gravel
Budget-friendly for walkways and low-traffic areas. Rounded edges don’t compact as tightly as crushed stone, so add 1-2 inches beyond standard depth recommendations when using gravel.
Sand: Understanding Its Proper Role
Sand is NOT a base material—it’s a 1-inch bedding layer that goes on top of compacted stone. Using sand alone as your base guarantees settling within the first year.
Recycled Concrete Aggregate (RCA)
Eco-friendly and 20-30% cheaper than virgin crushed stone while performing comparably. Quality varies by source, so buy from reputable suppliers.
Best Options by Project Type
Patios: Crushed stone or RCA (6-inch depth) + 1 inch sand Driveways: Crushed stone or RCA (8-12 inch depth) + 1 inch sand
Walkways: Crushed stone, RCA, or gravel (4-6 inch depth) + 1 inch sand
You may read You may read How To Install Pavers On Dirt?
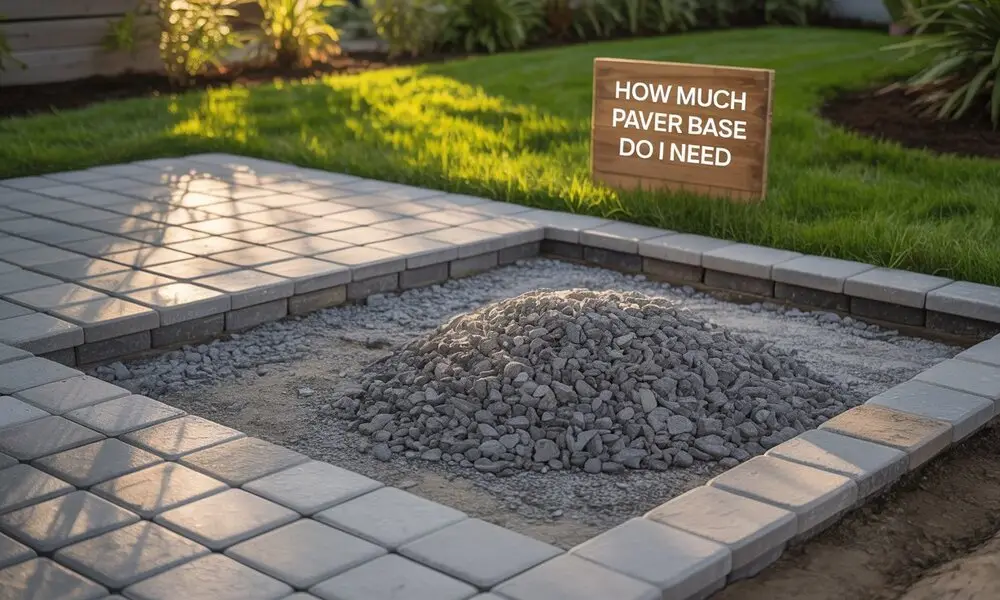
Step-by-Step | How to Calculate Exactly How Much Paver Base You Need
Follow this proven method to calculate paver base accurately and avoid material shortages.
Step 1: Measure Your Project Area
Measure length and width in feet, then multiply for square footage. For irregular shapes, break into rectangles, measure each, and add together.
Pro tip: Add 6 inches beyond your paver area on all sides for edge support.
Example: 12 ft × 16 ft patio = 192 sq ft With edge support: 13 ft × 17 ft = 221 sq ft
Step 2: Determine the Right Paver Patio Base Depth
Walkways & light patios:
- Standard soil: 4 inches base + 1 inch sand
- Clay soil: 6 inches base + 1 inch sand
Standard patios:
- Standard soil: 6 inches base + 1 inch sand
- Clay soil: 8 inches base + 1 inch sand
Driveways:
- Standard soil: 8 inches base + 1 inch sand
- Clay soil: 10-12 inches base + 1 inch sand
Step 3: Convert to Volume
Formula: Square footage × depth (in feet) = cubic feet
Example:
- Area: 221 sq ft
- Depth: 6 inches = 0.5 feet
- Calculation: 221 × 0.5 = 110.5 cubic feet
Convert to cubic yards: 110.5 ÷ 27 = 4.1 cubic yards
Step 4: Add Compaction Factor
Base material settles during compaction. Add 15-20% to avoid shortages.
Example: 4.1 × 1.20 = 4.9 cubic yards Order: 5 cubic yards (always round up)
Quick Reference Chart
10×10 patio (6″ base): 2.3 cubic yards base + 0.4 cubic yards sand 12×16 patio (6″ base): 5 cubic yards base + 0.7 cubic yards sand 12×20 driveway (8″ base): 8.9 cubic yards base + 0.9 cubic yards sand 20×20 driveway (10″ base): 18.5 cubic yards base + 1.5 cubic yards sand
Using a Paver Base Calculator
Online calculators provide quick verification, but most don’t include the compaction factor. Always add 15-20% to calculator results.
Critical Mistakes That Ruin Paver Projects (And How to Avoid Them)
After repairing hundreds of failed installations, we’ve identified mistakes that cause 90% of premature failures.
Mistake #1: Inadequate Paver Base Thickness
Reducing base depth to save money backfires. One local patio used 3 inches instead of 6 inches, saving $400 initially. After one winter, 11 settled areas required complete reinstallation costing $6,200.
Solution: Never reduce base thickness below recommendations. If budget is tight, reduce project size instead.
Mistake #2: Poor or No Compaction
Base material must be compacted in 2-3 inch layers using a plate compactor. Simply spreading 6 inches and compacting once doesn’t work.
Proper technique:
- Spread 2-3 inches of base
- Compact with multiple passes
- Add next layer
- Repeat until reaching desired depth
Rent a plate compactor ($75-100/day) for projects over 100 square feet. Hand tampers don’t provide sufficient compaction.
Mistake #3: Using Wrong Base Material
Sand-only base: We’ve seen DIY projects using 6 inches of sand because it’s easier. Every single one failed within 18 months.
Correct approach: Use crushed stone or gravel for base depth, topped with only 1 inch of sand as bedding layer.
Mistake #4: Ignoring Drainage
All paver surfaces need minimum 1% slope (1 inch drop per 10 feet) away from buildings. Without proper drainage, water weakens the base and causes freeze-thaw damage.
Mistake #5: Skipping Edge Restraint
Without solid edging, pavers gradually creep outward. Install commercial-grade edge restraint spiked into the base around the entire perimeter for long-term stability.
When DIY Makes Sense vs. When to Call Lakota Design Group
Small projects like 6×8 walkways might be manageable for experienced DIYers with proper tools. However, consider professional installation when:
Your project exceeds 200 square feet: Professional crews complete in days what takes DIYers weeks.
Soil conditions are challenging: Clay soil, high water tables, or slopes require engineering knowledge to calculate paver base correctly.
Vehicle traffic is involved: Driveways demand precision. Failure consequences are severe and expensive.
You lack proper equipment: Plate compactor is minimum. Larger projects need excavation equipment and material delivery logistics.
The Lakota Design Group Advantage
With more than 49 years of experience serving San Jose, Lakota Design Group has perfected its process to eliminate guesswork and common errors.
Our approach includes:
- Free site assessment evaluating soil, drainage, and intended use
- Premium materials at competitive pricing through supplier relationships
- Commercial compaction equipment achieving 95%+ density
- Engineered drainage solutions with proper slope calculation
- Warranty protection on all installations
- 2-3 day completion for most residential projects
Recent example: A Willow Glen homeowner initially planned DIY for her 450-square-foot patio. After calculating 6.7 cubic yards of base, equipment rental, and facing clay soil challenges, she contacted us. We completed her project in three days with engineered drainage she’s confident will last decades.
Final Thoughts
Getting your paver base right is the key to a strong, beautiful, and long-lasting patio. At Lakota Design Group, we specialize in helping homeowners calculate how much paver base do I need for perfect results every time. With our expert San Jose landscape installation services, your outdoor space will stay level and stunning for years. Trust our team’s experience and craftsmanship to bring your vision to life. Contact Lakota Design Group today to start building your dream patio!
FAQs
Q1: How Much Paver Base Do I Need For A Patio?
For most patios, you’ll need 4–6 inches of paver base. This ensures stability, proper drainage, and prevents shifting over time. Always adjust based on soil conditions and traffic levels.
Q2: How Much Paver Base Do I Need For A Driveway?
Driveways require a stronger foundation, typically 8–12 inches of paver base. The extra depth supports heavy vehicle weight and prevents sinking or cracking.
Q3: Can I Use Less Base Material For Walkways?
Yes, walkways usually need only 4 inches of base material since they don’t carry as much weight as patios or driveways. However, compacting each layer is still essential.
Q4: How Do I Calculate How Much Paver Base I Need?
Measure the length and width of your project area, multiply to get square footage, then multiply by your desired paver patio base depth (in feet). Divide the result by 27 to get cubic yards. Many suppliers also provide a paver base calculator online.
Q5: Should I Order Extra Paver Base Material?
Yes. Always add 10–15% more material to account for compaction and settling during installation. It’s better to have extra on hand than to run short mid-project.