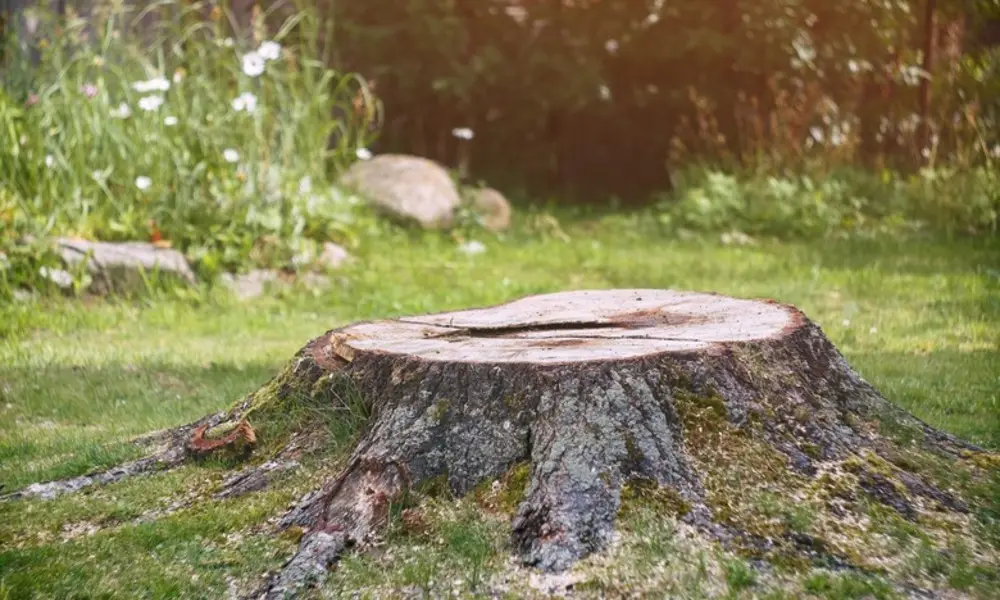
How to Get Rid of a Stump
Tree stumps left for your backyard may be unattractive, absorb space, or even entice pests. Many house owners marvel the way how to get the rid of stump without spending an excessive amount of time or money. Luckily, there are numerous stump removal method you could try, starting from easy DIY strategies to expert solutions.In this guide, we`ll provide an explanation for the whole thing you want to realize approximately DIY stump removal ,clean stump removal options, or even short stump removal in case you`re quick on time.Why You Should Remove a StumpBefore studying the way how to get rid of stump, it`s critical to recognize why stump elimination matters.Safety: Old stumps can motive journeys and falls, specifically for youngsters gambling withinside the backyard.Pests: Stumps entice termites, ants, and different bugs that could unfold on your home.Regrowth: Some stumps might also additionally sprout new shoots, main to undesirable small trees.Aesthetics: Removing stumps improves the general appearance of your lawn or garden.Space: Once removed, you could use that vicinity for planting, landscaping, or garden care.Stump Removal MethodsThere are one of a kind methods to do away with a stump. The proper approach relies upon in your budget, how an awful lot time you have, and whether or not you need to do it yourself or lease help. Let`s discover the maximum not unusual place options.1. Manual DIY Stump RemovalOne of the maximum cost-powerful methods is DIY stump removal. It calls for tools, effort, and endurance however may be profitable in case you decide upon hands-on work.Tools you`ll want: Shovel Axe or mattock Pruning noticed or chainsaw Garden gloves Safety goggles Steps for manual stump removal. Dig across the stump – Use a shovel to show the roots. Cut the roots – Use an axe, pruning noticed, or mattock to cut the roots. Loosen the stump – Continue digging and slicing till the stump turns into loose. Pull it out – With sufficient roots cut, you could pull out the stump manually or with leverage. This is powerful for small to medium stumps however can be very difficult for huge ones.2. Burning Method for Easy Stump RemovalIf digging sounds too difficult, burning may be an clean stump removal option. However, usually take a look at neighborhood guidelines earlier than beginning a fire.Steps to burn a stump: Drill numerous holes deep into the stump. Pour kerosene or stump remover chemical into the holes. Light the stump cautiously and allow it burn slowly. Once the hearth place dies, do away with the ashes and final wooden. Burning is straightforward however now no longer usually allowed in residential areas.3. Chemical Stump RemovalFor a short stump removal answer with out a lot effort, you could use chemical substances designed to interrupt down wooden fibers.Steps for chemical elimination: Drill deep holes into the stump. Fill them with chemical stump remover (potassium nitrate is common). Add water to set off the chemical. Wait some weeks because the stump softens and decays. Break aside the stump with an awl or shovel. This approach is slower than burning however calls for much less bodily work.4. Grinding the Stump If you need a quicker and expert manner of having rid of a stump, stump grinding is ideal. A stump grinder is a device that shreds the stump into small pieces. You can hire one from a hardware save or rent a expert. Grinding eliminates the seen stump however leaves the roots underground. This is one of the maximum green stump removal techniques for huge or more than one stumps.5. Natural DecompositionIf you`re now no longer in a hurry, you could allow the stump rot naturally. This is the slowest approach however the maximum eco-friendly.How to hurry up herbal rotting: Drill holes withinside the stump and fill them with nitrogen fertilizer. Keep the stump wet to inspire decomposition. Cover it with mulch or soil to entice moisture. It may also take months or maybe years, however it calls for no heavy work.DIY Stump Removal vs Professional ServicesYou can be questioning whether or not to do it your self or rent experts. Here`s a short comparison: DIY Stump Removal Professional Stump Removal Cheaper but more time-consuming Costs more but saves effort Best for small stumps Best for large or multiple stumps Requires tools and safety gear Done with proper equipment May take days or weeks Usually finished in a few hours Safety Tips for Stump RemovalNo count number which technique you pick out, preserve those protection hints in mind: Always put on gloves, boots, and goggles. Keep youngsters and pets away all through the process. Be careful whilst managing chemical compounds or hearthplace. If the usage of strength gear, comply with the manufacturer`s instructions.When in doubt, rent a professional.How to Prevent Stump Problems withinside the FutureOnce you already know the way how to get rid of stump, it`s additionally beneficial to save you new ones. Remove the whole tree (inclusive of roots) whilst cutting. Hire experts for tree elimination to make sure no stump is left. Treat the soil after stump elimination to prevent regrowth. Final ThoughtsNow you already know numerous stump removal methods to pick out from. Whether you decide on DIY stump removal, a chemical solution, or hiring experts, the proper preference relies upon for your needs.If you`re seeking out easy stump removal, attempt chemical compounds or burning. For quick stump removal , stump grinding is the satisfactory option. And in case you need a herbal, green manner, permit it decompose slowly. No count number which technique you pick out, disposing of that stump will make your backyard safer, cleaner, and extra beautiful.Frequently Asked Questions (FAQs)Q1: What is thefastest way to remove a stump?The quickest manner is stump grinding, which eliminates the stump in only a few hours.Q2: Can I remove the stump with out gear?Yes, you may use chemical compounds for easy stump removal , however it’ll take weeks to melt the stump.Q3: How lengthy does it take for a stump to rot naturally?Natural rotting may also take 3–10