How to Install Landscape Fabric Underneath Rocks is a crucial step to maintaining a clean and low-maintenance outdoor space. It helps prevent weed growth, stabilizes the ground, and extends the lifespan of your Bay Area landscaping project. If you’re looking for the best landscape fabric under gravel, this guide will walk you through the entire process. Whether you’re working on a small garden path or a large rock landscape, proper installation ensures long-lasting results.
Why Use Landscape Fabric for Rocks?
Using landscape fabric for rocks provides multiple benefits:
- Weed Prevention: The fabric acts as a barrier, stopping weeds from sprouting through the rocks.
- Soil Erosion Control: It stabilizes the ground, reducing the chances of soil shifting.
- Improved Drainage: Quality landscape fabric allows water to seep through while preventing soil from mixing with the rocks.
- Low Maintenance: With proper installation, you won’t have to frequently remove weeds or re-level the area.
- Enhanced Aesthetic Appeal: Using landscape fabric creates a clean, uniform appearance by keeping your rock layout neat and intact.
- Extended Lifespan of Hardscaping: When combined with Bay Area Paver Installation, it adds durability by reducing ground shifts that can impact stone or paver placement.
Step-by-Step Guide: How to Install Landscape Fabric Underneath Rocks
1. Prepare the Ground
Before laying the landscape fabric under rocks, start by clearing the area. Remove all weeds, grass, and debris. If necessary, use a shovel to level the ground and ensure a smooth surface. For best results, consider using herbicide a few days before installation to kill any existing weeds.Also, ensure the ground is compacted properly. Loose soil can create dips over time, causing your rock layer to look uneven. If necessary, use a hand tamper or plate compactor to create a stable base.
2. Install Edging for a Defined Space
To keep the landscape fabric and rocks in place, install edging materials such as bricks, plastic, or metal landscape borders. This step is particularly important for Bay Area Paver Installation, as it helps define pathways and decorative rock areas.
3. Choose the Best Landscape Fabric Under Gravel
Selecting high-quality, durable landscape fabric is essential. Look for UV-resistant, woven fabric that allows for proper drainage while blocking weed growth. Avoid cheap, thin materials that might tear over time.The best landscape fabric for rocks should be heavy-duty, made from polypropylene or polyester, and should have small perforations to allow water to pass through without encouraging weed growth. Investing in premium fabric will prevent frequent replacements and additional labor costs.
4. Lay the Landscape Fabric
Unroll the landscape fabric and lay it over the prepared area. Make sure to overlap sections by at least 6 inches to prevent weeds from growing through gaps. Secure the fabric with landscape fabric pins, pressing them firmly into the soil.For areas with high foot traffic or exposed edges, consider double layering the fabric for extra durability. This is especially beneficial for Bay Area Paver Installation, where stability is crucial.
5. Cut Openings for Plants (If Needed)
If you plan to add plants within your rock landscape, use scissors to cut an X-shaped opening in the fabric. Carefully fold back the edges and place your plants inside. After planting, secure the fabric back around the base of the plant to minimize weed growth.
6. Add a Layer of Gravel or Small Rocks
To enhance stability and protect the fabric, spread a thin layer of gravel before placing larger rocks. This step is particularly useful for Bay Area Paver Installation projects, where stability is crucial. The gravel helps with drainage and prevents fabric from shifting under pressure.
7. Spread the Rocks Evenly
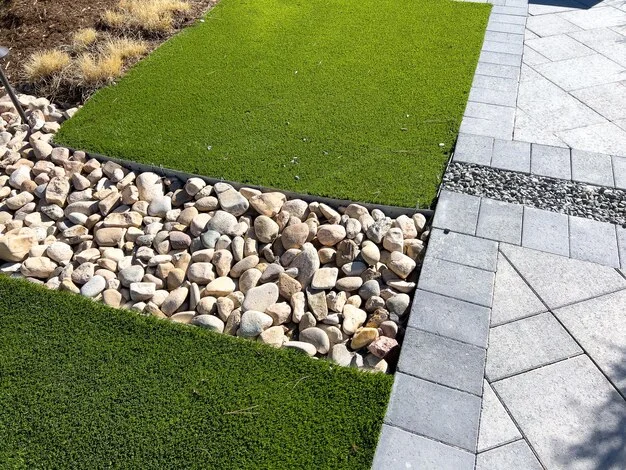
Now, it’s time to add your chosen rocks over the fabric. Spread them evenly to cover the entire area while ensuring they are firmly in place. Use a rake to distribute the rocks smoothly and check that no fabric is exposed.For a more refined look, consider mixing different sizes of rocks. Larger stones create a natural feel, while smaller gravel fills gaps and adds structure. If working on a Bay Area Paver Installation, ensure rock placement complements the overall hardscape design.
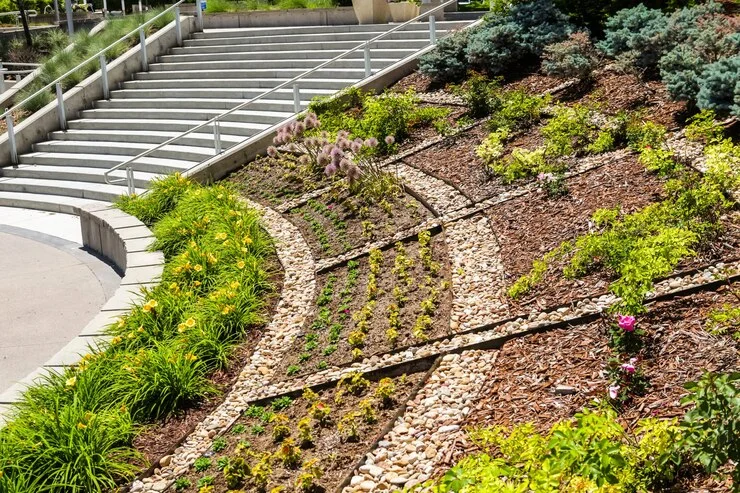
Maintenance Tips for Landscape Fabric Rocks
- Regularly check for any fabric exposure and cover it with additional rocks if needed.
- Remove any debris or fallen leaves to prevent organic matter buildup, which can encourage weed growth.
- If weeds start appearing, pull them out immediately before they establish roots.
- Check the rock layer periodically and replenish areas where rocks have shifted or thinned out over time.
- Inspect edging materials to ensure they remain secure, preventing rock displacement and maintaining a polished look.
Why Choose Lakota Design Group for Bay Area Paver Installation?
For professional and seamless Bay Area Paver Installation, trust Lakota Design Group. Our team specializes in high-quality landscape design, ensuring your rock landscaping project is durable and visually appealing. With expertise in installing the best landscape fabric for rocks, we help homeowners achieve stunning outdoor spaces that require minimal upkeep.
Whether you’re working on a backyard pathway, a decorative rock garden, or a full Bay Area Paver Installation, Lakota Design Group has the skills and experience to bring your vision to life. We understand the importance of selecting the right materials and executing precise installation to guarantee long-lasting results.
By choosing Lakota Design Group, you ensure that your outdoor space is designed with both beauty and function in mind. Our team is committed to quality craftsmanship, ensuring that your landscaping elements remain intact and vibrant for years to come.Contact us today to learn more about our landscape design services and enjoy a hassle-free, long-lasting outdoor space!
FAQs
1. How long does landscape fabric last under rocks?
High-quality landscape fabric can last anywhere from 5 to 15 years, depending on exposure to elements and the type of fabric used.
2. Can I put landscape fabric over existing weeds?
It’s best to remove all weeds before installing fabric. Using herbicide and clearing vegetation ensures better long-term results.
3. Does landscape fabric allow water to drain?
Yes, most high-quality landscape fabrics are designed to allow water and air to pass through while blocking weeds.
4. How deep should rocks be over landscape fabric?
A 2-3 inch layer of rocks is usually sufficient to keep the fabric secure and provide an attractive, stable surface.
5. Should I use plastic instead of landscape fabric?
No, plastic sheeting blocks water and air, leading to poor drainage and unhealthy soil conditions. Fabric is a better long-term solution.
6. How do I maintain a rock landscape with fabric?
Regularly check for exposed fabric, remove debris, and replenish rocks as needed to maintain a clean and polished look.

