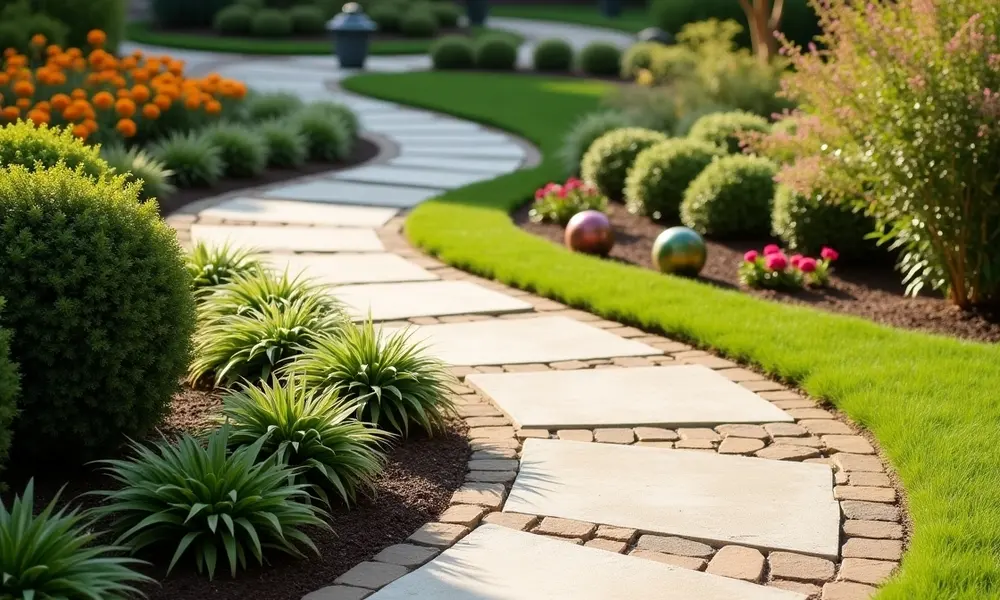
How to install concrete landscape edging stones curved is a practical project that adds both beauty and functionality to any outdoor space. Curved concrete edging defines borders between lawn, garden beds, and walkways, offering a polished and professional appearance. It helps maintain clean lines while preventing grass or weeds from invading planted areas, making yard maintenance easier and more effective.
Installing concrete curved edging is more than just a decorative upgrade—it provides long-term structural benefits. These curved concrete edging stones are especially ideal for gardens with flowing, organic layouts. Their smooth, rounded shapes follow natural lines, adding visual harmony while also resisting shifting or weather damage over time. In this step-by-step guide, we’ll show you how to plan your layout, prepare the site, and install curved concrete edging to ensure a strong, attractive border that lasts for years.
Table of Contents
ToggleWhat Are Curved Concrete Landscape Edging Stones?
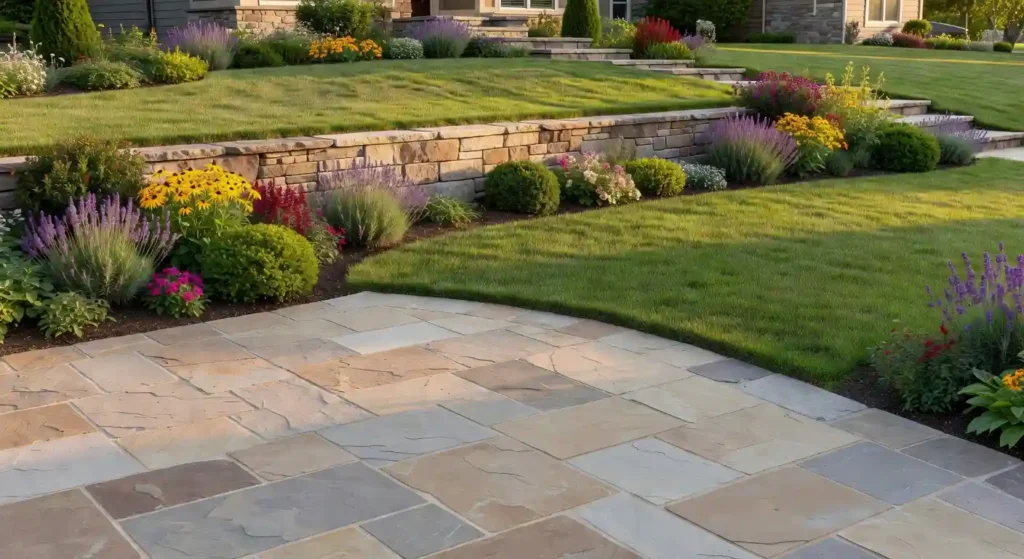
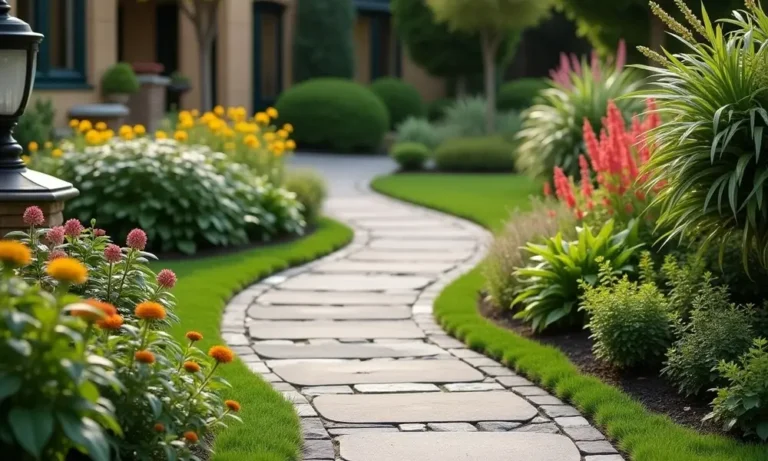
Curved concrete landscape edging stones are pre-formed, durable borders crafted from molded concrete with a gentle curve or serpentine shape. These curved edging stone elements are designed to create smooth, flowing lines that define the edges of lawns, garden beds, walkways, and other outdoor features. Unlike straight borders, curved designs follow the natural contours of a landscape, offering a more organic and visually appealing aesthetic.
How They Differ from Straight Landscape Edge Stones
The key distinction between curved edging stones and straight ones lies in their form and flexibility. Straight landscape edge stones work best for formal garden layouts or structured geometric shapes. In contrast, curved edging is better suited for informal or natural-style landscapes, allowing for borders that flow gracefully around features like flower beds, trees, or winding paths. This adaptability makes curved concrete edging ideal for creative and custom outdoor designs.
Popular Uses in Landscape Design
Curved concrete landscape edge stones serve a wide range of functions in both residential and commercial landscaping. Common applications include:
- Defining garden beds with smooth, natural curves
- Lining winding walkways or patio perimeters
- Framing circular features such as fountains or planters
- Softening sharp transitions in landscape layouts
Their ability to blend seamlessly with softscape and hardscape elements makes them an excellent choice for enhancing both form and function in outdoor spaces.
Material Options and Finishes
While concrete is the most popular material for curved edging stones due to its strength and weather resistance, it’s available in a variety of finishes and textures to suit different design styles. These include:
- Smooth or textured surfaces
- Stamped designs mimicking brick, stone, or pavers
- Colored finishes to complement landscape themes
- Exposed aggregate for added decorative appeal
These customizable options allow designers and homeowners to tailor their landscape edge stones to any setting—from classic to contemporary—while maintaining long-lasting durability and visual harmony.
Benefits of Curved Concrete Edging Stones
- Aesthetic Appeal with Organic Flow
Curved concrete edging adds a graceful, flowing design element to any landscape. The smooth lines of a curved edging stone complement natural garden layouts, creating a more organic and visually pleasing appearance compared to straight edges. - Superior Durability and Weather Resistance
Curved concrete edging is extremely resilient and resistant to erosion, chipping, and cracking because it is made to survive the weather. Unlike plastic or wood alternatives, it maintains its form and function year-round, even in harsh climates. - Clear Lawn and Garden Separation
Curved edging stones help define borders clearly between lawns, flower beds, and pathways. This creates a tidy, organized landscape while guiding foot traffic and preventing grass or roots from creeping into garden spaces. - Reduced Maintenance
By keeping mulch in place and acting as a barrier to weeds, curved concrete edging helps reduce time spent on upkeep. The snug fit of each curved edging stone ensures long-term performance without shifting or sinking. - Enhanced Property Value
Professional-looking edging adds to curb appeal and can subtly boost property value. A well-installed curved edging stone border reflects attention to detail and a thoughtfully designed outdoor space.
Tools and Materials Needed
Tools Required
- Shovel – For digging the trench along the curved layout
- Rubber Mallet – To tap and secure each curved edging stone into place without damaging them
- Level – Ensures each landscape edge stone sits evenly for a clean, professional finish
- Tape Measure – To measure the length of your curve and calculate materials
- Garden Hose or String Line – For marking out the desired curved shape
- Hand Tamper or Plate Compactor – To compact the base layer of gravel or sand
- Wheelbarrow – For transporting materials like sand, gravel, and stones
- Trowel – Helpful for leveling and adjusting the base or backfill
Safety Gear
- Gloves – To shield your hands from rough materials and sharp edges
- Safety Glasses – When handling gravel, sand, or cutting materials
- Knee Pads – Optional but helpful for kneeling while placing stones
- Steel-Toe Boots – To prevent foot injuries from heavy landscape edge stones
Materials Needed
- Curved Concrete Edging Stones – Depending on your design, select the type and amount.
- Crushed Gravel – Utilized as a sturdy foundation under the edging
- Coarse Sand – Optional layer above gravel to help level stones
- Landscape Fabric (optional) – Helps prevent weed growth under the edging
- Mulch or Soil – For backfilling around the finished edge
- Concrete Sealant (optional) – To enhance appearance and protect the curved edging stone from weathering
You should read about Landscape construction services in Bay Area.
How to Install Concrete Landscape Edging Stones
Installing curved concrete edging is a great way to add definition and structure to your landscape while enhancing its visual appeal. Follow these step-by-step instructions to install curved edging stone efficiently and professionally.
Step 1: Plan and Design Your Edging Layout
Start by mapping out where you want your landscape edge stones to go.
- Sketch the desired curved shape of your border on paper or using landscape design software.
- Use a garden hose or string to lay out the curve physically in your yard.
- Measure the length of your layout to estimate how many curved edging stones you’ll need.
Step 2: Dig the Trench
Next, dig a trench along the marked line.
- Make sure the trench is wide and deep enough to fit your curved concrete edging stones and base layer (typically 4–6 inches deep and slightly wider than the stones).
- Follow the curved line carefully to preserve the smooth, flowing shape.
Step 3: Add a Base Layer
Creating a solid foundation is crucial for stability.
- Pour a base layer of crushed gravel or coarse sand into the trench.
- Compact the base using a hand tamper to ensure a level and stable surface for your curved edging stone installation.
Step 4: Lay the Curved Concrete Edging Stones
Now it’s time to place the edging.
- Begin at one end of the trench and set each landscape edge stone along the curve.
- Use a rubber mallet to gently tap each stone into place, ensuring it sits snugly on the compacted base.
- Check for consistent spacing and alignment as you progress to maintain a uniform curve.
Step 5: Secure and Finish
Finish off your edging project for long-term durability.
- Backfill the trench around the curved concrete edging with soil or mulch.
- Compact the edges to hold the stones firmly in place.
- For added protection and style, consider applying a concrete sealant or decorative finish to your curved edging stone border.
Final Thoughts
Now that you know how to install concrete landscape edging stones curved, you can transform your outdoor space with style and structure. A well-laid curved edging stone border adds lasting beauty and value to any landscape. If you need help with design, installation, or sourcing quality materials, Lakota Design Group is here for you. Ready to upgrade your landscape? Contact us today for expert assistance and custom edging solutions!
FAQs
What Is The Best Way To Mark The Curve Before Installing Concrete Edging Stones?
You can use a garden hose or string line to lay out your desired curve. This allows flexibility in adjusting the shape before digging the trench.
How Deep Should I Dig The Trench For Curved Concrete Edging?
Typically, the trench should be 4 to 6 inches deep—enough to accommodate a gravel or sand base and ensure stability for each curved edging stone.
Do I Need A Base Layer Under Curved Landscape Edge Stones?
Yes, a compacted base layer of gravel or coarse sand is essential. It provides a stable foundation and helps prevent shifting over time.
How Do I Keep The Curved Concrete Edging Aligned Properly?
Start from one end and use a level and rubber mallet to place each stone evenly. Check alignment often, especially around tighter curves.
Can I Install Curved Edging Stone On A Slope?
Yes, but it requires more attention to leveling and trench depth. Stepped placement may be needed to maintain stability and appearance.